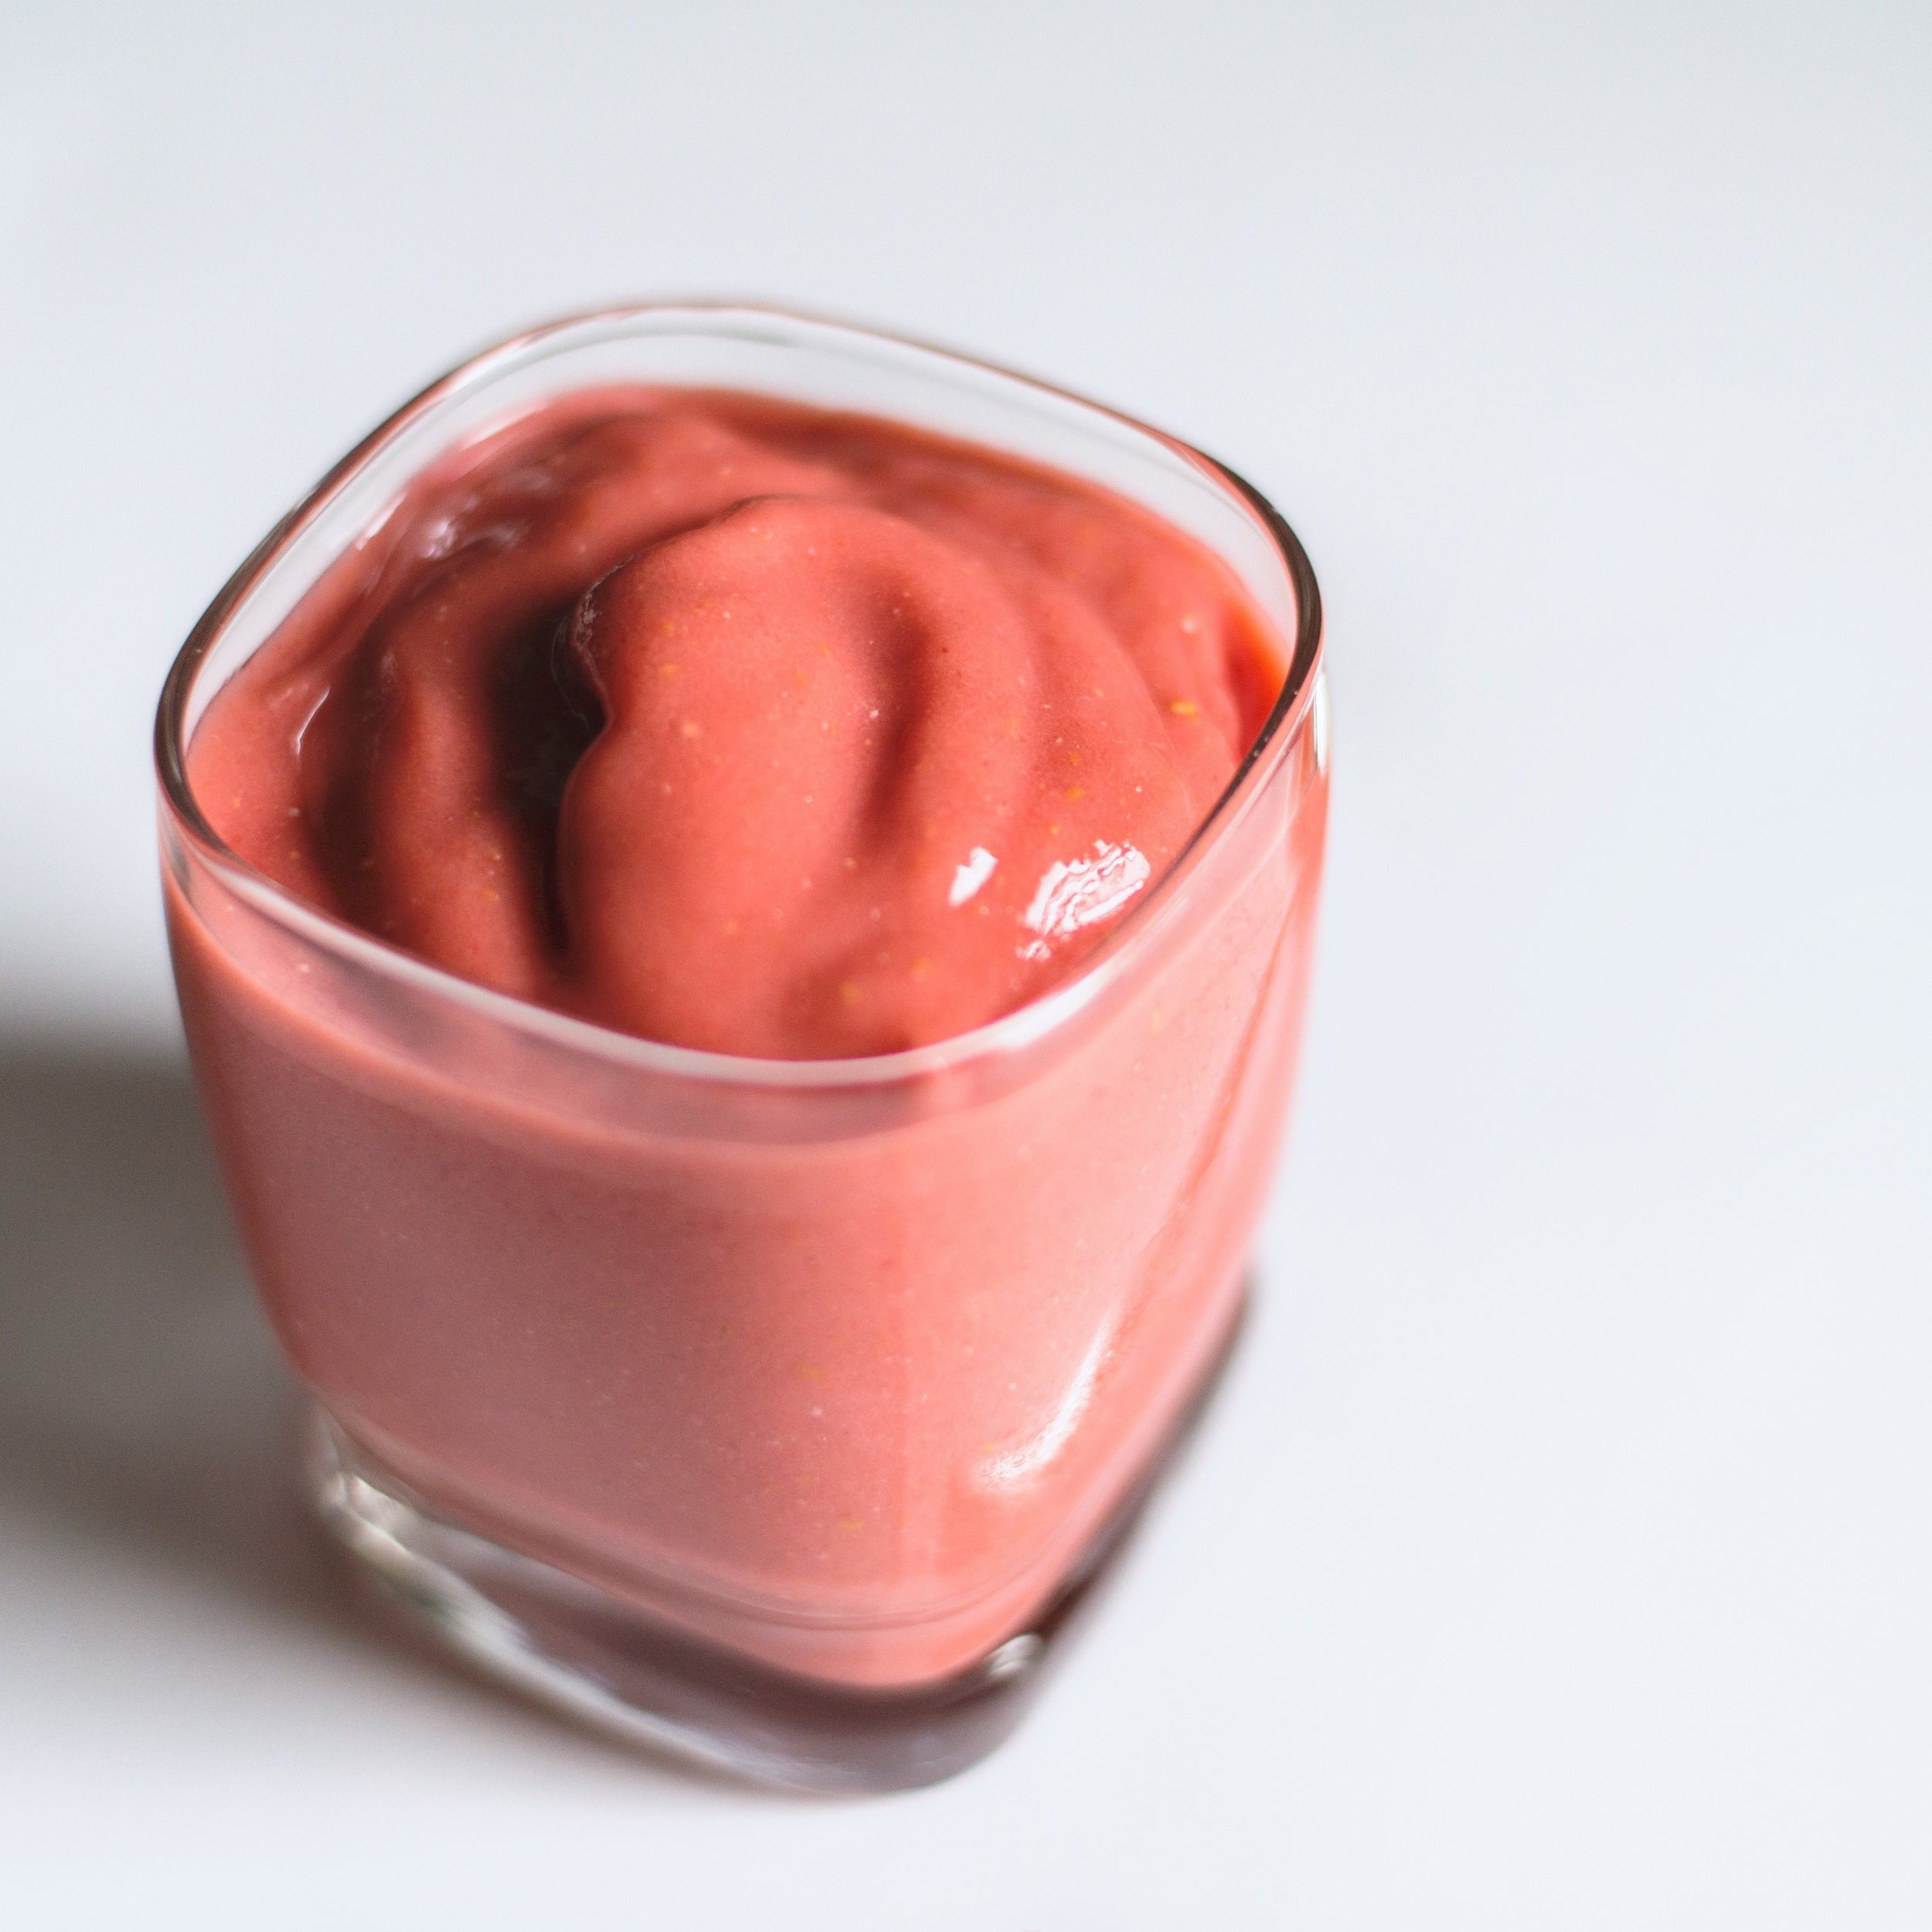
Healthier Smoothies: AHB Smoothie Formula

While I generally recommend that my clients eat nutrient-dense, whole foods, rather than drinkable meals, like smoothies or green juices, smoothies are a favorite of many of my clients as a fast and convenient way to get in nutrients and energy. I agree so long as the smoothie contains the right balance of ingredients to be as nourishing as a proper meal. I often make them as an afternoon snack and I tend to crave them more in the morning during the warmer months.

Smoothies can be rough for blood sugar balance if you don’t build them appropriately but a healthy smoothie is possible! It’s important to limit higher sugar fruits and include plenty of quality fats, protein, and fiber to keep you satiated until your next meal.

a-healthy-smoothie.jpg

Because a smoothie is essentially a bunch of foods blended together, is important that you chew it. While blending does make it easier on the digestive system, your body won’t digest it properly without the initiation of the digestive process. When consuming the smoothie, swish it around your mouth before swallowing it in order to get your digestive juices flowing. You can even try adding a crunchy ingredient as a garnish on the top and eating it with a spoon! Drinking your smoothie at room temperature rather than ice cold is also easier on digestion and can keep you from getting a brain freeze too.

A Healthy Balance Basic Formula (for one serving)

  • 8 to 12 ounces of liquid

  • 1 serving of protein

  • 1-2 tablespoons fat

  • Up to one tablespoon fiber (start small and increase the amount over time)

  • Up to ½ cup of fruit (add more if your body needs an adjustment to less sweet smoothies and decrease the amount over time)

  • Up to 1 cup of vegetables (more even if you want!)

  • Extras

Below are my favorites for each of the components.  Some ingredients may overlap in multiple categories.

Liquid

  • Pure, filtered water

  • Organic, non-dairy, unsweetened milk

  • Organic, unsweetened yogurt (dairy if tolerated, or non)

  • Coconut water (reduce sugar by adding water for half the liquid)

Protein – Choose high quality un-sweetened, grass-fed animal proteins and third-party tested vegan proteins when possible

Fat

  • Avocado (1/4 – 1/2)

  • Seed or nuts/butters (organic peanut, almond, cashew, sesame/tahini, pumpkin seed etc.)

  • Coconut butter

  • Coconut oil

  • Cacao butter

  • Freshly ground flax

  • Chia seeds

  • Ghee

  • Extra virgin olive oil

Fiber

  • Chia seeds

  • Freshly ground flax

  • Acacia fiber

  • Avocado (1/4 – 1/2)

  • Rolled oats

  • Hemp seeds

  • Shredded coconut

Fruit

  • Organic berries (blueberries, raspberries, cherries, strawberries, blackberries etc.)

  • Lemon (juice or flesh)

  • Lime (juice or flesh)

  • Apples

  • Pears

  • Peaches

  • Kiwi

  • Banana (Green tipped)

Vegetables

  • Cauliflower

  • Zucchini

  • Greens (kale, chard, spinach, bok choy, dandelion, mustard, basil, arugula etc.)

  • Raw, steamed or roasted beets

  • Cooked pumpkin or winter squash

  • Cilantro, mint, parsley (or any other fresh herb!)

  • Sprouts

  • Cucumber

  • Fennel

  • Carrots

Extras – These are not mandatory by any means, but adding spices, adaptogens, and superfoods can add nutrition and boost your energy, immunity, reduce inflammation, balance hormones.

  • Pinch or two of sea salt (for electrolytes)

  • Ginger (I store in freezer and just grate it into the container)

  • Cinnamon, cayenne, nutmeg, turmeric

  • Vanilla extract or bean paste

  • Maca

  • Mushrooms (reishi, corydyceps, chaga etc.)

  • Cacao powder or nibs

  • Matcha

  • Moringa

  • Spirulina

  • Greens powder

  • Probiotic powder

A sample of my go-to recipes for a healthier smoothie:

Good Morning Smoothie

  • 1 cup unsweetened almond milk

  • 1 serving collagen peptides

  • 1 tablespoon nut butter

  • 1 tablespoon hemp seeds

  • ½ cup frozen blueberries

  • 2 giant handfuls of spinach or kale

  • Pinch of sea salt

  • 1 teaspoon vanilla extract

Afternoon Treat Smoothie

  • 1 cup coconut milk

  • 1 serving collagen peptides

  • 1 -2 tablespoons nut butter

  • ¼ large or ½ small avocado

  • ½ cup frozen banana

  • ½ cup frozen cauliflower rice

  • 1 heaping tablespoon cacao powder

  • Pinch of sea salt

  • 1 teaspoon vanilla extract

Round up: BEST Healthy Instant Pot Recipes

When I first heard about the Instant Pot, I wondered if I really needed yet another kitchen gadget that I would have to find some room for in my cupboard to store and would be forgotten after using it just a couple of times.  When Amazon had a crazy sale for Black Friday a few years back, I decided to go for it. What I didn’t realize is how much it would change the way that I prepare many of my staples, and how much easier and more efficient it would be for me to get healthy food prepped and on the table for my family to enjoy.

Now, it isn’t the perfect product.  It is big and clunky and you do need some space to store it.  It can be dangerous if you don’t follow the directions properly and if you are the kind of person that likes to constantly “check” on what you are making, it may not be the gadget for you.  That being said, it can save you a lot of time and energy in the kitchen.

Below I have curated some of my favorite recipes and some of the favorites of members of my online community. I’ll continue to add to this list so check back often!

Instant Pot

Staples

Hard boiled eggs

Bone broth

Spaghetti squash I like to cook mine for 10 minutes instead of 7

Beets

Beans You can sub black beans for the pinto and change up the fresh spices.  I like to add bay leaves to mine. I also will often replace the water with broth if I have that on hand

Hummus

Yogurt

Coconut Yogurt

Whole chicken

Mains

Barbacoa

Beef Bourguignon

Butter Chicken

Carnitas

Kalua Pork

Korean Short Ribs

Lemon Garlic Chicken

Orange-Sesame Chicken

Quinoa Burrito Bowls

Salsa Chicken

Soups + Stews

Beef Pho

Chicken Pho

Vegetarian Pho

Beef Stew I never liked beef stew until I made this recipe!

Chicken Enchilada

Chicken Noodle

Spinach + Lentil

Tomato 

Tom Kha Gai

Turkey Chili

Loaded Mexican Chicken

Sides

Crispy Potatoes

Apple Pie Apple Sauce

Superfood Trail Mix

Serves 4-8

Prep time: 5 minutes

Ingredients:

  • 1/2 cup raw pecans, pistachios, walnuts, almonds, hazelnuts or a blend
  • 1/2 cup raw pumpkin seeds/pepitas
  • 1/2 cup dried coconut, large flakes
  • 1/2 cup dried mulberries (I use Nativa Organics brand), goji berries or cherries work too
  • 1/3 cup dark chocolate chips, more if you like chocolate!

Directions:

  1. Mix together and store in a cool dark place.  Enjoy by the handful, or two or three!
trail mix

Peppermint Chocolate Chip Cookies

Makes 12 cookies

Prep time: 15 minutes

Ingredients:

  • ¼ cup grass-fed butter

  • ¼ cup coconut sugar

  • 2 tablespoons maple syrup

  • 1 large egg

  • 2 teaspoons vanilla

  • 1½ cups blanched almond flour

  • 2 tablespoons coconut flour

  • 1 teaspoon baking soda

  • ½ teaspoon sea salt

  • ¼ cup cacao nibs

  • ¼ cup chocolate chips + 1 heaping tablespoon

  • 5 – 6 drops food grade peppermint essential oil

Peppermint Chocolate Chip Cookies.jpg

Directions:

  1. Preheat oven to 350 degrees F.

  2. In a food processor, mix the butter, coconut sugar, maple syrup, egg, and vanilla until smooth (30 seconds or so)

  3. Add the almond flour, coconut flour, baking soda, peppermint essential oil and sea salt and mix again until combined. Feel free to scrape down the sides of the bowl if needed to mix everything together.

  4. Move batter to a medium sized bowl and add the chocolate chips and cacao nibs, stirring until combined

  5. Using a tablespoon, scoop out dough and form 1 ½ inch (approximately) diameter balls on a cookie sheet lined with parchment paper. Flatten them slightly with your fingertips or the back of a spoon.

  6. Bake for 10-12 minutes, until slightly golden around the edges.


Instant Pot Hard Boiled Eggs

Prep time: 1 minutes

Ingredients:

  • 6-8 eggs
  • 1 cup water
Eggs.jpg

Directions:

  1.  Place the stainless steel insert pot into the Instant Pot base, along with the included steamer insert. Pour in one cup of water.
  2. Arrange the desired number of large eggs on top of the steamer insert.  I usually do six to eight eggs at a time.
  3. Lock the lid on top of the Instant Pot and make sure the steam release knob is turned to "sealing".
  4. Press the "manual" button on the front. High pressure should automatically be selected, but if it's not, make sure you change it.
  5. Use the plus/minus buttons to bring the time to five minutes.
  6. When the timer goes off, let the steam release naturally.  Feel free to release though if you are in a hurry.
  7. Once the pressure is released, press the cancel button to turn the warming function off.  Remove the lid and transfer the eggs to a bowl and allow eggs to cool on counter for 5-10 minutes before eating or placing them in the refrigerator for later use (up to one week).

Persimmon and Pomegranate Fruit Salad

Prep time: 15 minutes

Yield: 6-8 servings

Ingredients:

  • 3 fuyu persimmons, chopped (1/4 to 1/2 inch pieces)
  • 1 cup pomegranate seeds
  •  3 apples, peeled, cored, chopped (1/4 to 1/2 inch pieces)
  • Juice from one lemon
  • 2 teaspoons honey (optional)
  • 1 teaspoon cinnamon (more if you like cinnamon!)
Persimmon Salad.jpg

Directions:

1. Gently toss all of the ingredients together.  Enjoy!


Spinach Salad with Persimmons

Prep time: 15 minutes
Yield: 6-8 servings


Ingredients:
•    3 fuyu persimmons, chopped (1/4 to 1/2 inch pieces)
•    1 cup pomegranate seeds
•    3 apples, peeled, cored, chopped (1/4 to 1/2 inch pieces)
•    Juice from one lemon
•    2 teaspoons honey
•    1 teaspoon cinnamon (more if you like cinnamon!)

Persimmon Spinach Salad .jpg


Directions: 

1. Gently toss all of the ingredients together.  Enjoy!

It will keep for at least a couple of days in the refrigerator, but is best on the same day it is made.

Maca Latte

Maca root is an adaptogen, a name given to certain herbs, plants, and natural substances that help the body naturally adapt to life’s daily stressors. While it is a member of the cruciferous family (think broccoli and cabbage) but it has some unique properties that makes it different. It grows high in the mountains of Peru and can be found in many health food stores (and even at Trader Joes!). Historically maca has been considered a potent aphrodisiac and a traditional fertility tool of indigenous groups from the Andes.

It's benefits are numerous and may include increased fertility in both men and women, hormone balance, improved immunity, thyroid function, and increased energy, stamina, sexual function, memory, and focus.

Many claim that consuming maca regularly make them feel more energetic and vital, and provide them with a sense of well-being, thought to be due to its ability to rebalance hormones and elevate “feel good” endorphins. Maca also has a relatively high amount of plant-based nutrients, including protein, fiber, calcium and magnesium.

Maca powder comes in two forms. Plain maca powder (raw powdered maca root) and gelatinized maca. Gelatinization is a completely vegetarian process that removes the starch to improve assimilation and make it more concentrated. Gelatinized maca is known to be easier on digestion than the plain version and is also more cost effective given its concentration.

Although maca does not generally produce harmful side effects, it makes sense to work with a practitioner if you are unsure whether maca is right for you. The jury is still out on whether or not maca is safe for use in pregnant or nursing women. So, until we hear otherwise, it is best for these women to avoid it.

Author: Stephanie Selinger

Prep time: 5 minutes

Servings: 1 

Maca Latte.jpg

Ingredients: 

  • 8 ounces freshly brewed coffee
  • 3 oz milk of choice
  • 1 teaspoon gelatinized maca root powder
  • 1 scoop collagen peptides
  • 2 teaspoons coconut butter (MCT or coconut oil would work too)
  • 1-2 teaspoons honey (optional)

Instructions:

1. Place maca root powder, collagen peptides, honey and coconut butter into a small glass or ceramic mixing bowl.  

2. Add milk and coffee.  Mix with an immersion blender or whisk well.  

3. Pour into 12 oz mug and drink up!


Gut-Friendly Berry Gummies

Author: Stephanie Selinger

Prep time: 15 minutes

Yield: 6-8 servings

Ingredients:

  • 1 heaping cup of your choice of blueberries or raspberries or a blend of the two

  • 4 lemons (or 2/3 cup lemon juice)

  • 1/4 cup of unflavored, grass fed gelatin

  • 1-3 tablespoons raw honey or maple syrup (depends on if you want tart or slightly sweet gummies; can be omitted entirely)

7.25.17_Stephanie Sellinger_Madeline Mae Photography-27.jpg

Directions:

  1. Place berries into small saucepan and heat over medium until berries pump up and liquid is bubbling (around 8 minutes).

  2. Let the mixture cool slightly and move to blender. Add the juice of all four lemons and honey or sweetner if using.

  3. Blend until smooth; add the gelatin and blend again.

  4. Pour into silicone candy molds or a 9x9 baking dish and refrigerate for at least 45 minutes. Once they are set you can remove from the molds or cut up into squares. They will store in the refrigerator for up to 5 days.

Fall Kale Salad

Author: Stephanie Selinger

Prep time: 15 minutes

Yield: 4 servings

Ingredients:

  • 1 cup quinoa, cooked*
  • 2 bunches (medium-sized) lacinato (dino) kale, washed, dried and chopped into small (one inch or so) pieces
  • 1 large ripe pear, washed, stemmed and cored, sliced thin
  • 1 cup cooked chick peas, rinsed and drained (if canned)*
  • 4 tablespoons fresh parsley, chopped
  • 1/4 cup pecans or walnuts, chopped
  • 1/3 cup extra virgin olive oil
  • 1/8 cup balsamic vinegar
  • 1-2 Tablespoons pure maple syrup
  • Sea salt and fresh ground pepper, to taste
Pears

Directions:

  1. Cook quinoa as directed. This step can be done ahead of time, but I like to prepare this salad when the quinoa is warm.
  2. Place cooked quinoa in a large salad bowl. Add the kale, pear, chick peas, nuts and parsley and toss to combine.  
  3. In a small bowl, whisk together the oil, vinegar, and maple syrup, adding salt and pepper to taste; pour it over the salad and toss gently to coat.

Can be served immediately or saved for later.  This salad will hold well in the refrigerator for a few days.

*Omit the quinoa and/or chick peas if you are grain free or do not tolerate these items, feel free to add another protein of choice!

Chia Seed Pudding

Author: Stephanie Selinger

Prep time: 5 minutes

Rest time: 3 hours, preferably overnight

Yield: 4–6 servings

Ingredients:

  • 1/2 to 3/4 cup chia seeds, as desired
  • 1 to 3 tablespoons of pure maple syrup, to taste (optional)
  • 3 cups unsweetened almond (or other) milk

Suggested toppings:

  • Granola – homemade or low sugar variety
  • Muesli
  • Fresh fruit – berries, bananas, stone fruit
  • Coconut flakes
  • Cinnamon, turmeric
  • Raw nuts
  • Hemp seeds, ground flaxseed
  • Raw honey


Chia Seed Pudding

Directions:

  1. Whisk the milk, chia seeds, and sweetener together in a large bowl. (For a thin and runny chia pudding, use 1/2 cup chia seeds. For a thick chia pudding, use 3/4 cup chia seeds.)
  2. Cover and place in the refrigerator for at least 3 hours, preferably overnight. It helps to stir the mixture every so often during this time, but don't worry if you can't. I usually do once before bed.
  3. Stir well before serving.
  4. Portion into bowl(s) and add your desired toppings. Leftovers will keep in an airtight container in the fridge for 3 to 5 days.

Simple Bone Broth

Intimidated by the idea of making your own bone broth?  I gotcha covered.  This is the simplest recipe and is a great introduction to making your own.  The health benefits of this long-time used, the wonderful liquid is plentiful. It makes an excellent addition to an omnivore's diet. It supports digestion, heals and seals the gut lining, boosts immune function, helps bone and joint health, and may even improve the look and feel of your skin. It is quick to make it in the Instant Pot (just two hours) but is easy to make in the slow cooker or in a large pot on the stove as long as you have a bit more time. The recipe below is for the slow cooker or Instant Pot.

Author:  Stephanie Selinger

Prep Time: 10 Minutes

Cook Time: 12 hours or longer (slow cooker variation), 120 minutes (Instant Pot)

Yield: 8 to 10 servings

Ingredients:

  • 2 to 3 roasted chicken carcasses (approx. 2 lbs. of bones); include any leftover skin or pan drippings

  • 1 medium-sized yellow onion, quartered (unpeeled is fine!)

  • 5 garlic cloves, unpeeled

  • 4 celery ribs, cut into 2 to 3-inch pieces

  • 3 carrots, cut into 2 to 3-inch pieces

  • 5 sprigs of fresh parsley (optional)

  • 1 bay leaf

  • 1 1/2 teaspoons peppercorns (optional)

  • 2 tablespoons apple cider vinegar (1 tablespoon per pound of bones)

  • 2 to 2 1/2 quarts pure, filtered water


Soup

Directions:

  1. Add all of the ingredients except the water to a 6-quart (or larger) slow cooker or Instant Pot.* Slowly add the water, ensuring that you don’t go above the liquid limit for your slow cooker or Instant Pot.  Feel free to add more water to the line if you have the room. Cook on low for 12 hours (or longer!) or use manual setting on Instant Pot and change timer to 120 minutes. While still hot, use tongs or slotted spoon to remove large pieces from broth. Then pour broth through a wire mesh strainer to remove the remaining solid bits.

  2. Let cool and then ladle into glass containers.

  3. Broth can be refrigerated for 4 to 5 days. For extended storage, it should be frozen. It's convenient to freeze it in 1- or 2-cup portions for easy use in recipes or for drinking.

USES: This broth can be used in soups, gravies, or any recipes calling for chicken broth. It is an amazing and healing elixir to drink all on its own too.

NOTE: This is a salt-free broth. If desired, add high quality sea salt to taste.

*If your slow cooker or Instant Pot is smaller than 6 quarts, you can half the recipe by using 1 chicken carcass and half of the remaining ingredients.


Easy Saurkraut

Author: Stephanie Selinger

Prep time: 15–20 minutes                                                                                                

Fermenting time: 4 weeks                                                                                                        

Yield: Roughly four cups

Ingredients:

  • 1 large head of cabbage, any variety

  • 1 tablespoon sea salt, more if desired

  • Filtered water, as needed

Tools:

  • Clean, 24-ounce mason jar w/lid (you won’t need the lid until the end)

  • Shot glass or other object of similar weight and size to serve as a weight

 Additional minor ingredients (make sure your mixture is mostly cabbage):

  • Thinly sliced apple or pear

  • Shredded beets

  • Shredded carrot

  • Onions, thinly sliced

  • Garlic, finely chopped

Seasonings (optional):

  • 1 tablespoon Caraway seeds

  • 3 tablespoons fresh dill or 1 tablespoon dried

  • 2 tablespoons fresh ginger, peeled and grated

Stephanie_Selinger-30.jpg

Directions:

1. When fermenting, it's best to give the good bacteria every chance of succeeding by starting off with a clean environment. Make sure your mason jar is are washed, rinsed and dried well. You'll be using your hands to massage the salt into the cabbage, so ensure your hands are clean too.

2. Pull off and set aside two larger outer leaves from the cabbage. Finely shred the remainder - chopping yourself using a sharp knife or feel free to shred in a food processor.

3. In a large mixing bowl combine the cabbage with the sea salt by hand. You'll want to spend quite a bit of time on this step (usually about 15 min!), until the cabbage starts to get all juicy and you have liquid pooling at the bottom of the bowl. It might get sort of foamy too. Add any additional ingredients at this time and incorporate well.

4. Pack the veggies into your mason jar. You'll want to stuff the jar with an inch or two of cabbage and pack it tightly down, then add another inch or two and repeat. Liquid should come up and cover the veggies at each stage of the packing and layering. Pack the veggies until you reach the top quarter of the jar. You will want to leave about an inch or two of space and you’ll want to make sure your veggies are below the liquid/brine. If needed, add a splash of filtered water until the veggies are completely covered.

5. Layer the top of the veggies with the reserved folded outer cabbage leaves and place a weight (like a shot glass) in the jar to keep the liquid over the cabbage. 

6. Cover jar with a towel and place somewhere that doesn’t get direct sunlight. I generally store the jar on a plate (because sometimes the brine will overflow) in an unobtrusive corner of the kitchen where I won’t forget about it, but where it won’t be in anybody’s way. You could also store it in a cool basement if you want slower fermentation that will preserve the sauerkraut for longer.

7. Check the kraut every two to three days. The volume reduces as the fermentation proceeds. You may want/need to periodically pack your veggies down with a spoon or the shot glass. If you need to add extra liquid, dissolve 1 teaspoon of salt in 1 cup of water and add enough to submerge the cabbage again.  Add the extra liquid as often as needed.

8. Sometimes mold appears on the surface (this rarely happens in my experience). Skim what you can off of the surface; however, it will break up and you will probably not be able to remove all of it. Don’t worry about this. It’s just a surface phenomenon, a result of contact with the air. The kraut itself is under the anaerobic protection of the brine.

9.  After about 3 weeks, you can taste your kraut (you are always welcome to taste it earlier, it wont hurt!). It should taste sour and slightly salty with a tangy flavor and have a nice but strong aroma. If it tastes good, it's good. If it tastes bad, you may need to scrape off the top layer and discard it, then see if the kraut tastes yummy beneath the liquid. Once the taste is to your liking, seal and store it in the fridge for months. Enjoy!

Note: if you enjoyed this process and think you will do more fermenting, here is a round up of my favorite recipes. You may also want to invest in some supplies, I have linked my favorite lids and weights here as well.