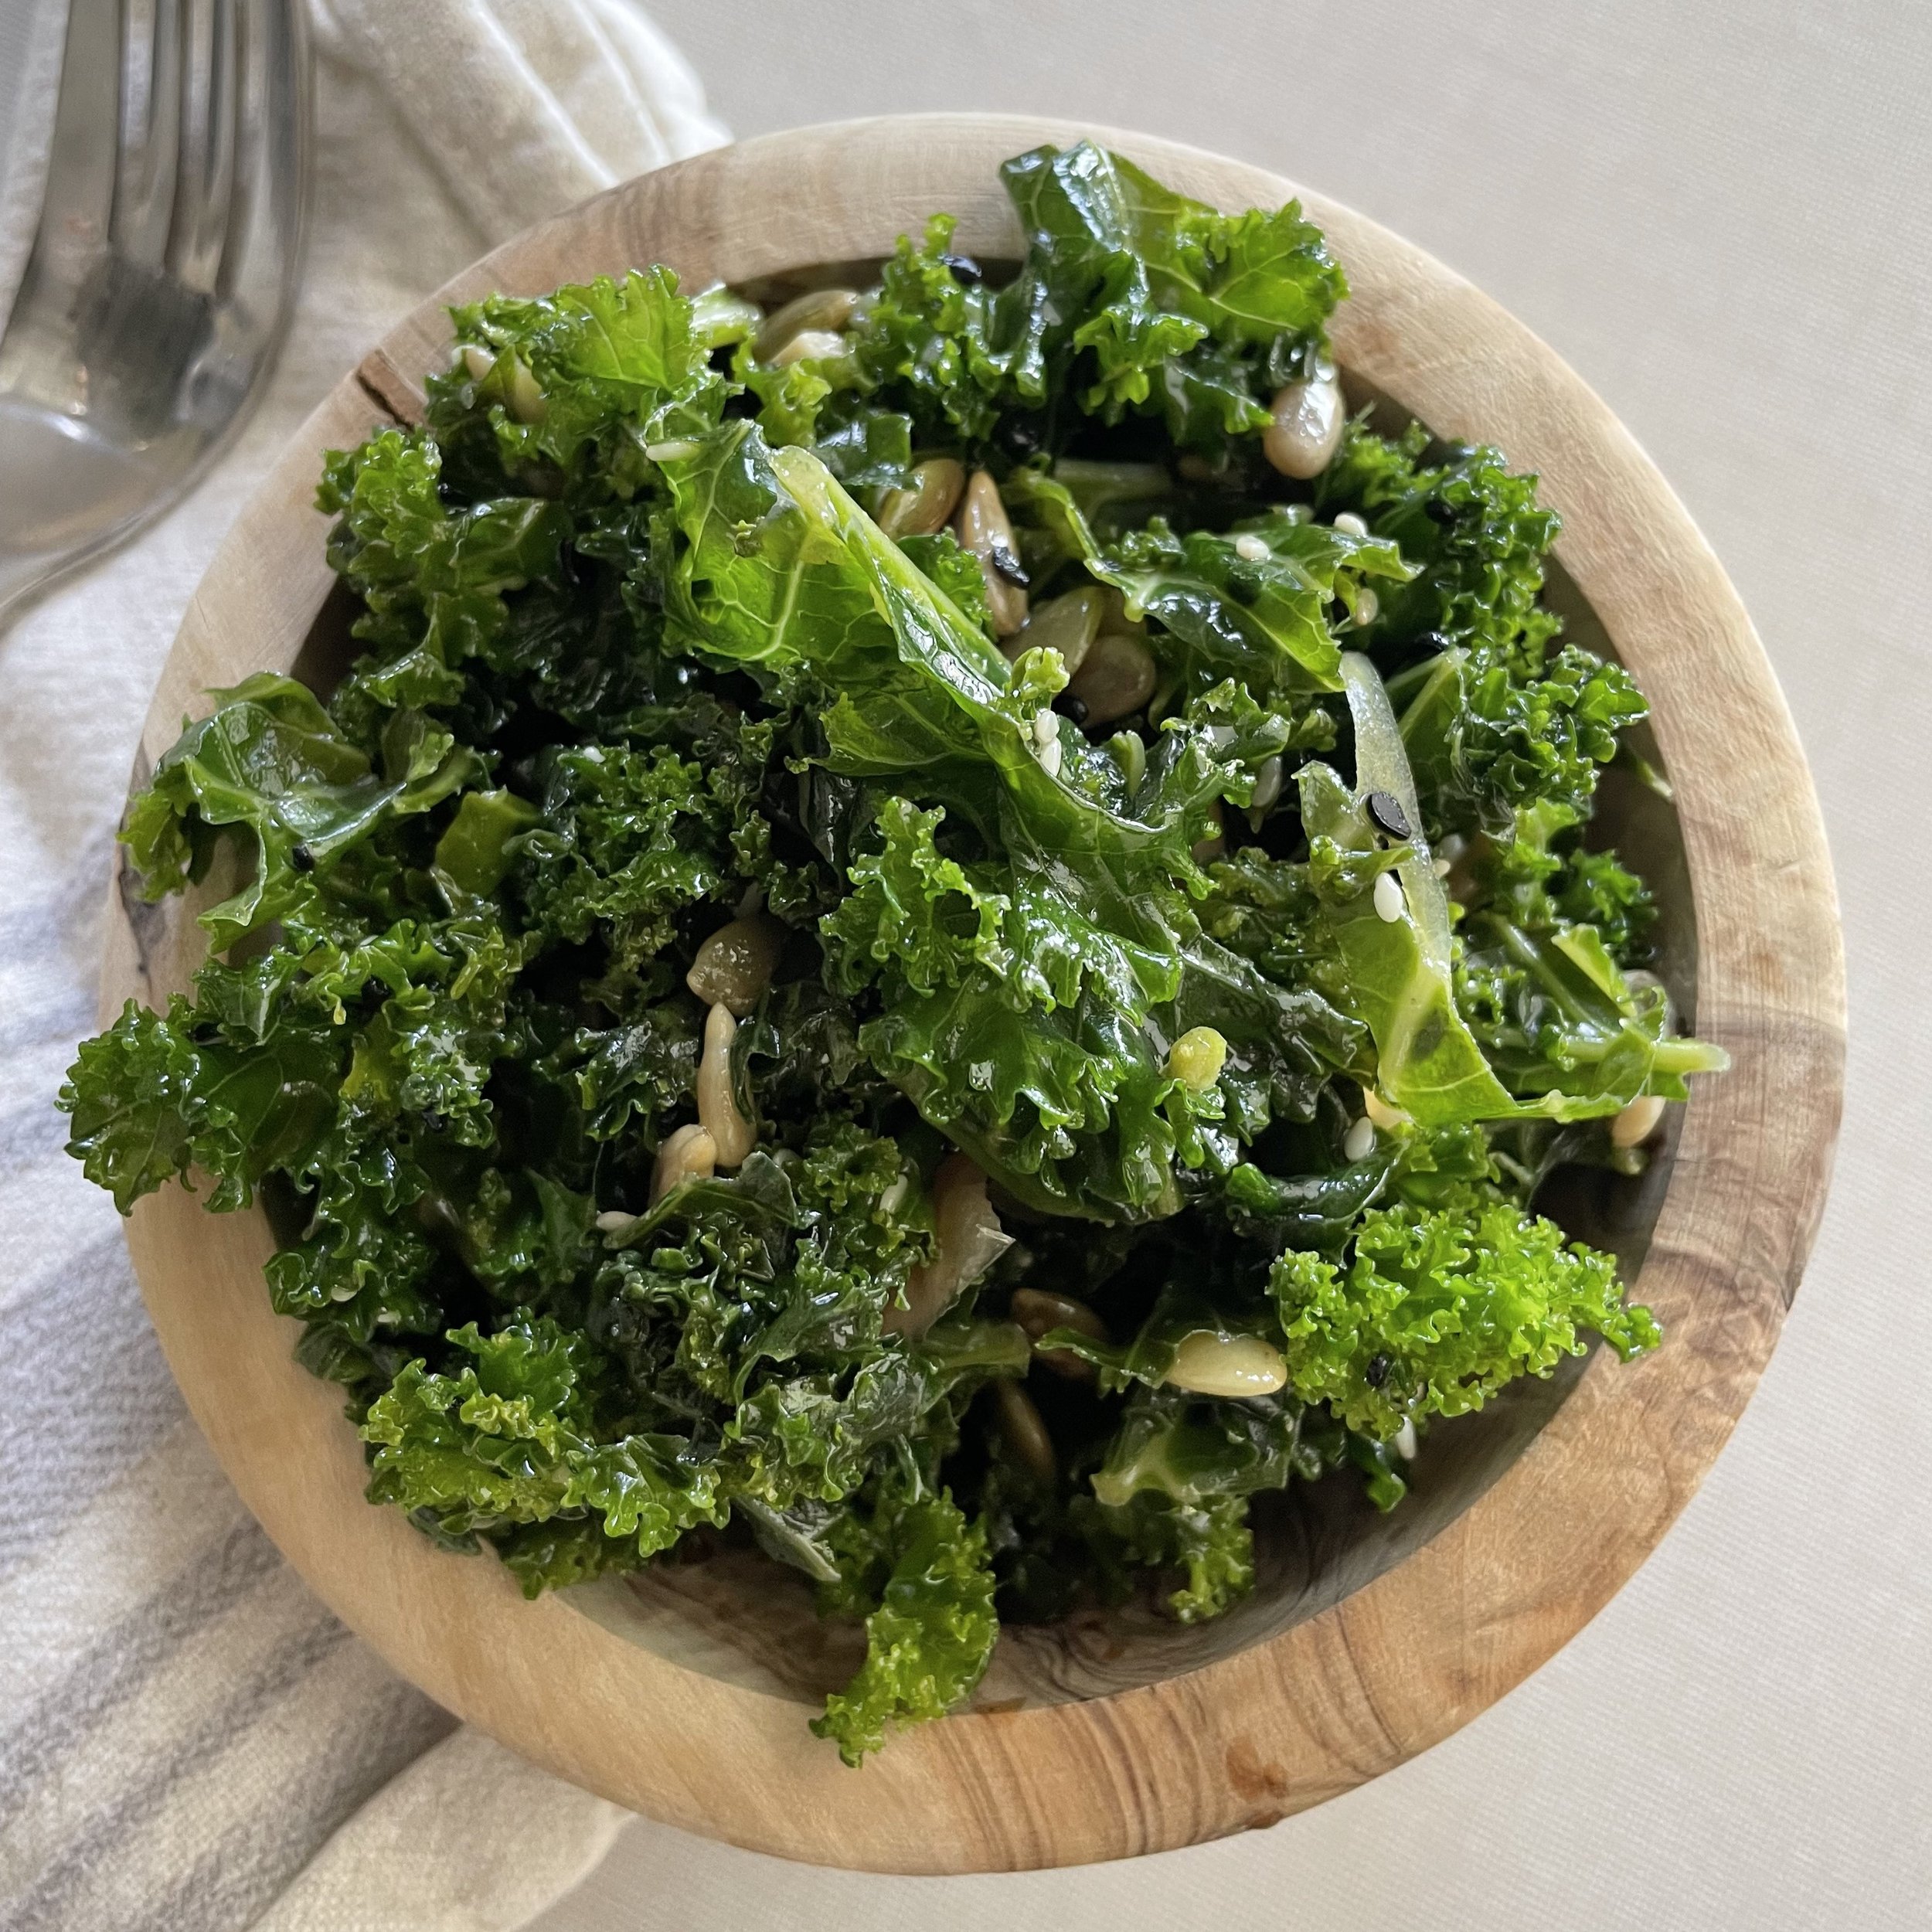
New Seasons Coastal Kale Salad

New Seasons Market in Portland has this amazing, simple kale salad in their prepared foods section that is a flavor explosion in every bite. Since I am not a huge fan of canola oil and try not to consume it often, I figured that I should recreate this salad at home. I enjoy it all throughout the year but it is especially nice in the summer months. It tastes amazing right away, but can also spend a day or two in the refrigerator if you want to prep it ahead of time. I love it as a side or a main with a protein added.

Serves 2-4

Ingredients:

  • 1 bunch of curly kale, washed and chopped finely

  • 1/2 large red or sweet yellow onion, sliced thinly

  • Juice of 1 lemon

  • 3 tablespoons of Coconut Aminos or Bragg’s Liquid Aminos (if soy is tolerated or preferred)

  • 1/3 cup extra virgin olive oil

  • 1 teaspoon garlic powder

  • 3 tablespoons sesame seeds

  • 3 tablespoons sunflower seeds

  • 3 tablespoons pumpkin seeds

  • Freshly grated parmesan to taste

  • Salt and pepper to taste


Directions:

  1. Whisk the garlic powder, lemon juice, coconut aminos, or Bragg’s aminos + extra virgin olive oil together

  2. Place the kale, onion, and seeds into a large salad bowl. Add the whisked dressing to the salad and gently mix. You will want the kale to be pretty coated so the seeds will stay dispersed throughout the greens

  3. Grate the fresh parmesan, salt, and pepper to taste and gently mix again.

  4. Enjoy!


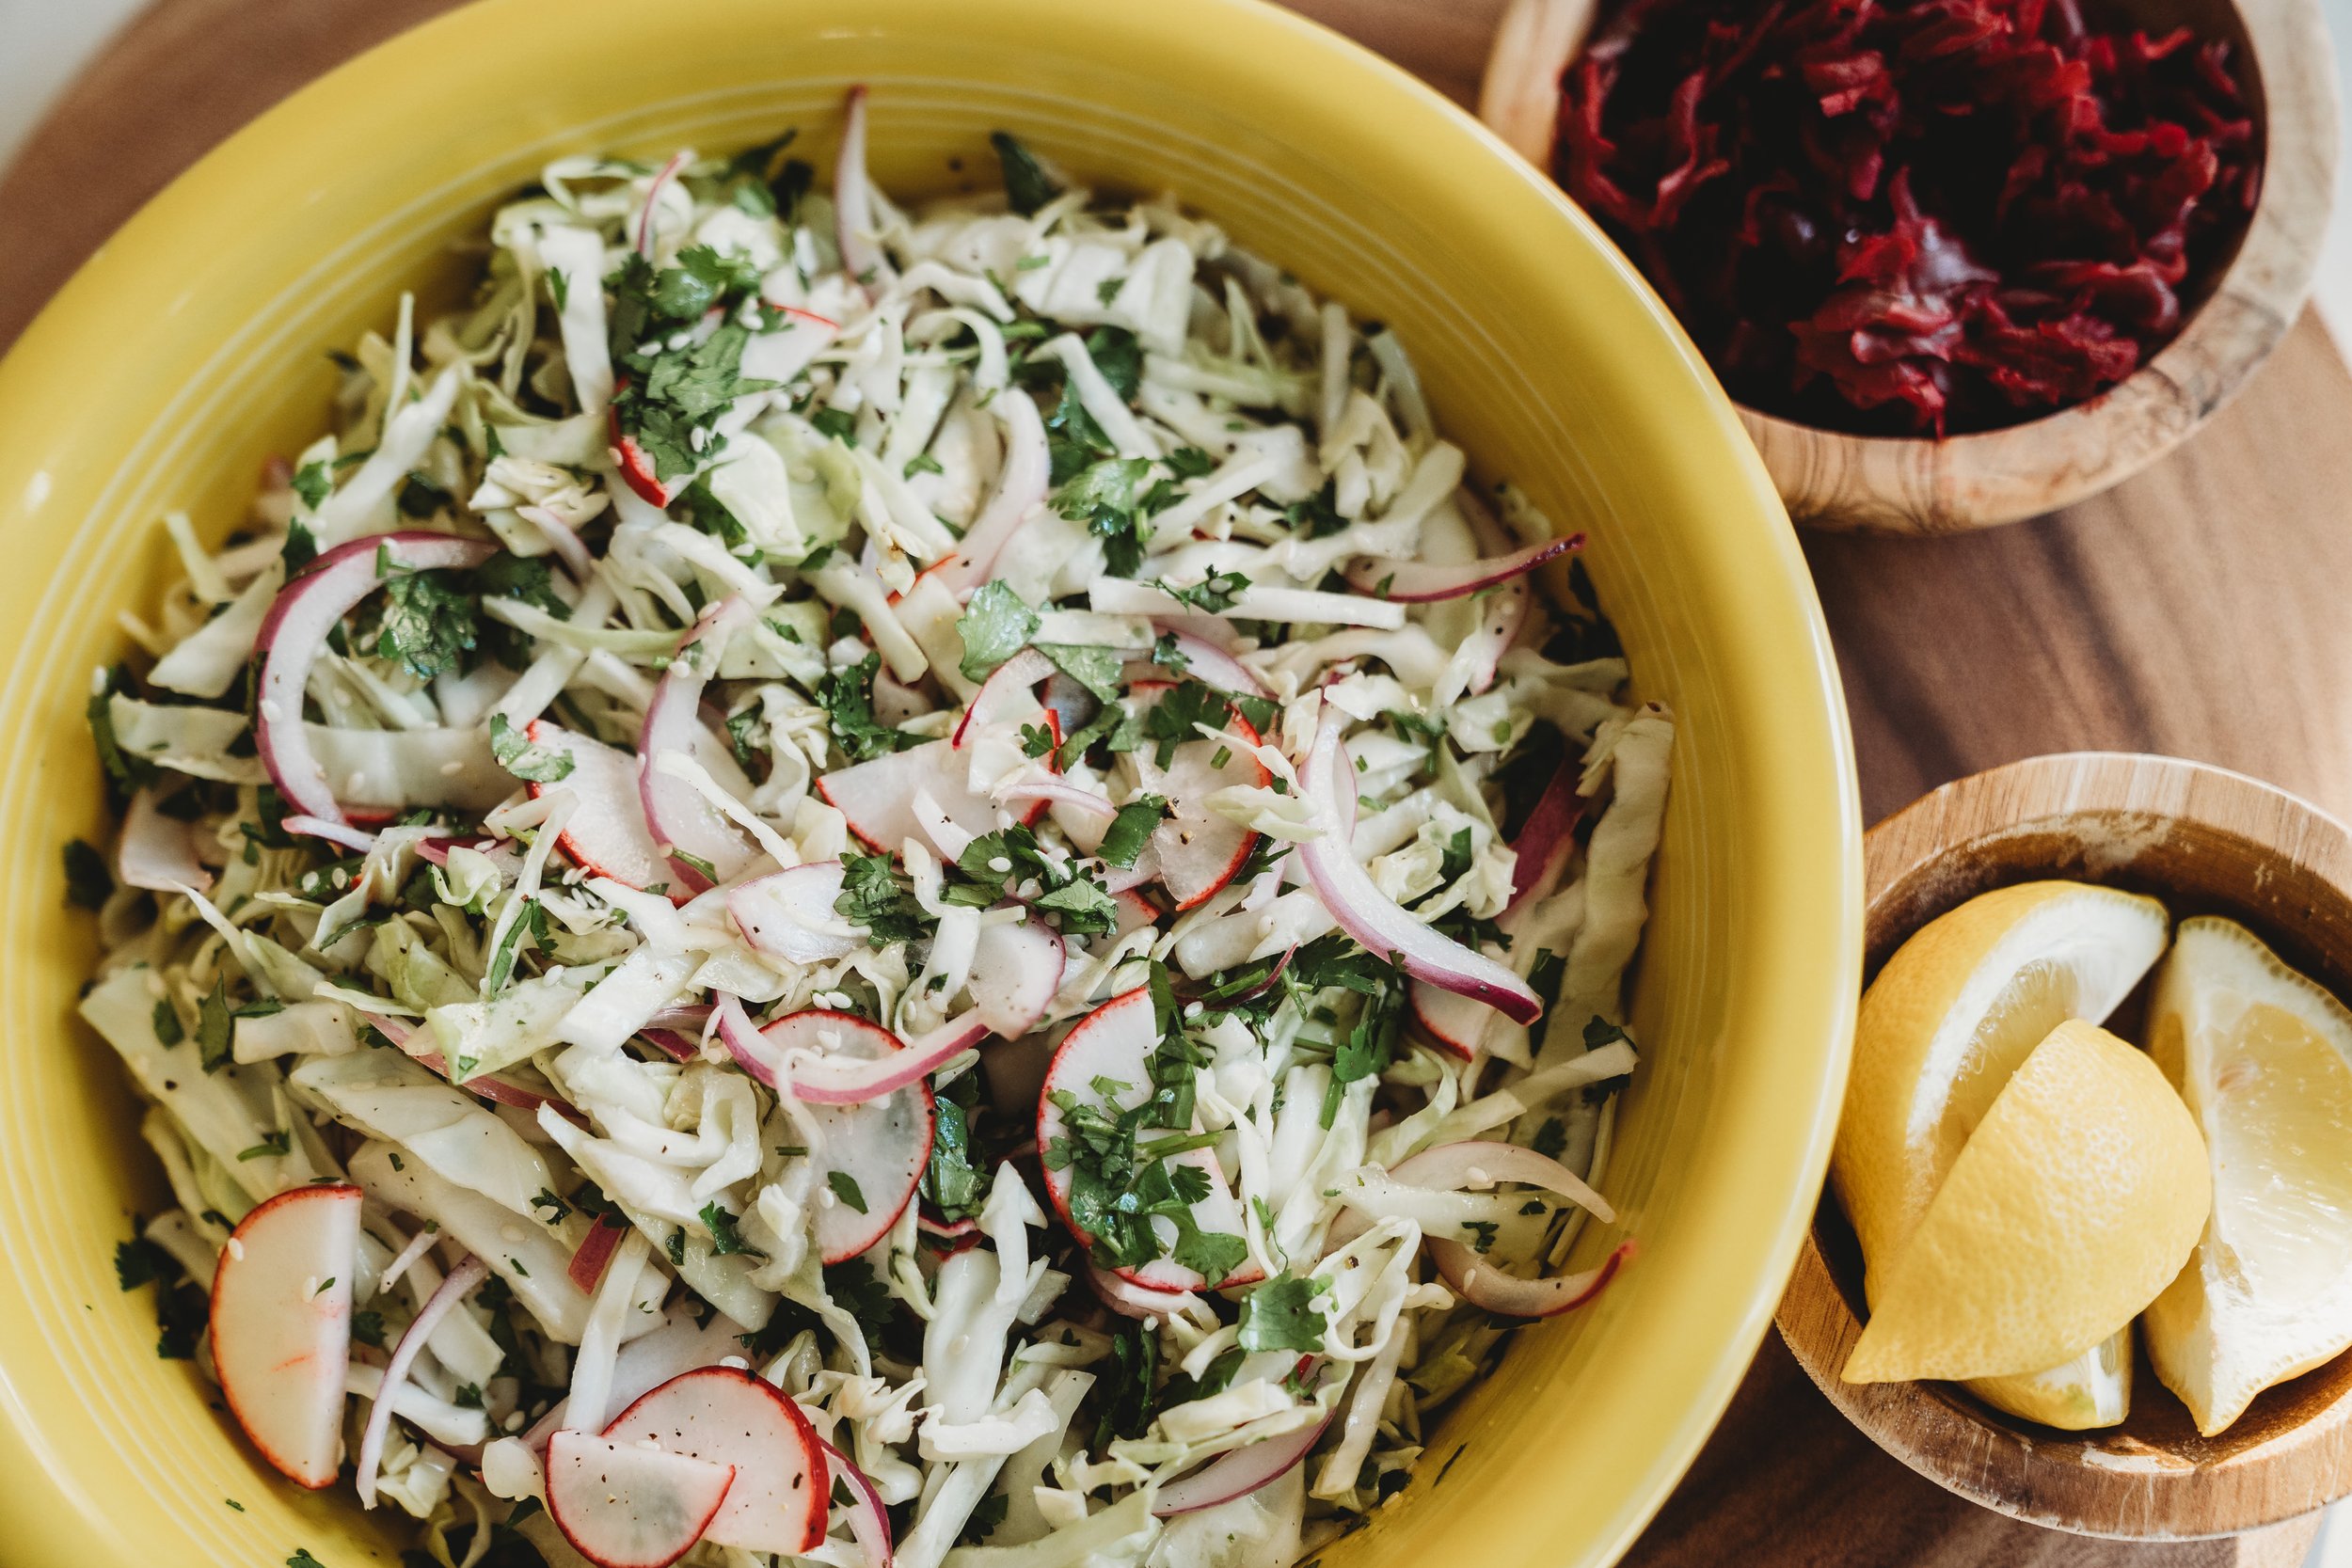
Versatile Cabbage Slaw

I LOVE making a cabbage-based slaw as a side all year round because you can always find in-season ingredients and it can basically go along with any recipe. Cabbage is loaded with nutrients including vitamin C and folate, fiber and is supportive of liver and gut health. I make a big batch of this at least once a week to eat as a side or garnish. Here is my go-to recipe. I swap out ingredients depending on what I have on hand. ⁠

Prep time: 20ish minutes

Yield: 8-10 servings


Ingredients:

  • Red, green, napa or savoy cabbage, chopped - 6-8 cups⁠

  • Bunch of cilantro, chopped fine - more if you like cilantro⁠!

  • 1/2 - 1 red onion, sliced thinly (depends on how much onion you like!)

  • Bunch of red radishes or large daikon, thinly sliced into half-moons⁠

  • Sesame seeds or pumpkin seeds- as many as you'd like for color, interest, and flavor⁠

  • Apple cider vinegar, a splash

  • Juice of 2 limes or lemons⁠

  • Extra-virgin olive oil or Avocado oil, a few glugs, or about 1/4 cup⁠

  • Sea salt and pepper to taste⁠

Cabbage slaw in a yellow bowl

Directions:

Combine all veggies in a large bowl, add spices and liquids, combine, taste, and refine as needed.⁠⁠

Other potential additions or swaps:

  • Sliced or shredded carrots

  • Chopped celery

  • Thinly sliced cucumbers

  • Chopped nuts

  • Seeds⁠

  • Chopped dried fruits⁠

  • Chopped apple

  • Chopped pear

  • Chopped or grated garlic⁠

  • Thinly sliced green onion⁠

  • Different spices⁠

  • Different kinds of vinegar

Any other ideas? Let me know!

Melon, Basil & Feta Salad

Prep time: 20 minutes

Yield: 8-10 servings

Ingredients:

  • 4-5 cups seeded watermelon, cut into 1 inch pieces (about 1/2 a medium sized watermelon)

  • 2 English cucumbers, halved lengthwise, seeded, and sliced

  • 6 Green onions, chopped

  • 1/2 Cup fresh basil (mint works too!), chopped

  • 4-6 Ounces cubed or crumbled feta cheese

  • 1/3 Cup extra virgin olive oil

  • 1/4 Cup balsamic vinegar

  • Salt and pepper to taste

Stephanie_Selinger-32.jpg

Directions:

  1. In a large bowl combine the watermelon, cucumbers, onion, basil and feta.

  2. In a small bowl add the oil, salt, and pepper and whisk to combine

  3. Pour dressing over watermelon mixture and toss until coated.

Serve immediately or cover and refrigerate for up to 2 hours prior to serving. This salad is not the best the next day.

Instant Pot Beets

Instant pot beets are sooooo easy! If you love beets, but are turned off by cooking beets because it seems like a challenging task and you have an Instant Pot, be prepared to get cooking. I generally stick with the purple or chioggia beets because golden beets have a tendency to oxidize in the refrigerator once cooked, turning them a no so pretty black color over time. This is a weekly ingredient prep staple in my house. Beets are super nutrient dense, liver supportive and help our bodies to digest the fats we eat. If you like them (I know they are not for everyone), this is a great way to eat them regularly. Their greens are also really yummy braised or sautéed.

Ingredients:

1 large or 2-3 medium-sized purple beets, raw, whole and rinsed

beet

Directions:

Place whole raw beet directly into steamer basket (skin on) add one cup of water. Use the manual button for to cook for 15-20 min. I do 20 min for larger beets (maybe 25 if its a HUGE beet). Once cooled, they peel slides right off and you can chop. Eat immediately or store for a week in the fridge to add to salads or to eat on their own.

Simple Homemade Tomato Soup

Serves 10-12 people

Prep/cook time: 10 minutes / 30 minutes

Ingredients:

  • 3 Tbsp extra-virgin olive oil

  • 2 Tbsp grass-fed butter

  • 2 Cups organic yellow onion, diced

  • 5 Organic garlic cloves, minced

  • 3 Tbsp organic tomato paste

  • 3 Cans organic whole tomatoes with juice (I like San Mariano)

  • 1 Tbsp dried organic oregano

  • Fresh basil leaves, chopped

  • Salt and pepper to taste

Tomatosoup

Directions:

Heat olive oil and butter in a large saucepan or Dutch oven over medium heat. Add onions, salt onions, cover and cook for 10 minutes. Add garlic, oregano, and tomato paste, saute for 2 additional minutes. Add canned tomatoes and the juice, breaking up the tomatoes with a wooden spoon. Bring to a low boil then reduce to a simmer for 20 minutes. Using an immersion blender, blend the soup soup directly in the pot (or blend in batches using a standard blender). Season with salt and pepper and serve with a garnish of chopped basil. It goes wonderfully with some crusty bread, croutons or grilled cheese sandwiches. It also freezes very nicely.

Round up: EASY Fermented Foods

Humans have prepared fermented foods and vegetables for many years, long before modern preservation methods like refrigeration came about. We know that fermented foods were a part of most, if not all native diets. While many cultures today still incorporate these foods into their diets regularly, in some parts of the world preparing ferments has become a lost practice.

Fermenting may seem daunting but it is actually really easy. If you are buying fermented foods regularly, you can save quite a bit of money by making them yourself. If you have yet to introduce fermented foods into your diet, what are you waiting for? Most of them taste really great (albeit a bit tangy!). There are some amazing health benefits to eating a diet rich in fermented foods:

  • Aids in digestion

  • Are loaded with beneficial enzymes, B-vitamins, omega-3 fatty acids, and probiotics

  • Supports your immune system

  • May help to curb sugar cravings

  • Promotes growth of healthy bacteria in the gut

  • Increases flavor of foods

Yogurt

Here are my best tips for success. Most of the recipes below go into some good detail to set you up properly as well:

Materials: glass and ceramic jars work the best. I like the classic glass Ball jars and use them for most everything I ferment. I have different sizes glasses depending on what I am fermenting. You may also want to invest in some supplies, Here are my favorite lids and weights.

Preparation: for vegetable ferments, clean your produce well of dirt and grime to ensure a successful fermentation process. Also, buy organic when possible to ensure that the produce has not come into contact with pesticides.  

When to stop: leave your ferment alone for the time suggested. Trust the process and only check on the ferment if absolutely necessary – like if you see mold. This is a risk for ferments, but it is easy to spot and deal with, usually. Black and bright pink are typically mold, while white is generally ok except when it is “fuzzy”.  Often times you can scrape off the mold and move on. If the mold is throughout the ferment its best to throw out and start over.

Here are my go-to, easy recipes:

Coconut Yogurt

https://minimalistbaker.com/easy-2-ingredient-coconut-yogurt/

Kimchi

https://www.thekitchn.com/how-to-make-easy-kimchi-at-home-189390

Saurkraut

https://www.ahealthybalance.net/recipes/2017/8/9/easy-saurkraut

Fermented Whole Radishes

https://www.mountainfeed.com/blogs/learn/fermented-whole-radishes

Quick Pickled Red Onion (not truly a ferment, but I love this recipe)

http://www.rickbayless.com/recipe/pickled-red-onions/

Fermented Salsa

https://wellnessmama.com/2643/fermented-salsa/

Fermented Beets with Cumin and Basil

https://thestingyvegan.com/spiralized-fermented-beets/

Fermented Pickles

https://www.farmhouseonboone.com/farmhouse-on-boone/the-easiest-way-to-make-homemade-pickles-from-all-those-extra-garden-cucumbers/

Persimmon and Pomegranate Fruit Salad

Prep time: 15 minutes

Yield: 6-8 servings

Ingredients:

  • 3 fuyu persimmons, chopped (1/4 to 1/2 inch pieces)
  • 1 cup pomegranate seeds
  •  3 apples, peeled, cored, chopped (1/4 to 1/2 inch pieces)
  • Juice from one lemon
  • 2 teaspoons honey (optional)
  • 1 teaspoon cinnamon (more if you like cinnamon!)
Persimmon Salad.jpg

Directions:

1. Gently toss all of the ingredients together.  Enjoy!


Spinach Salad with Persimmons

Prep time: 15 minutes
Yield: 6-8 servings


Ingredients:
•    3 fuyu persimmons, chopped (1/4 to 1/2 inch pieces)
•    1 cup pomegranate seeds
•    3 apples, peeled, cored, chopped (1/4 to 1/2 inch pieces)
•    Juice from one lemon
•    2 teaspoons honey
•    1 teaspoon cinnamon (more if you like cinnamon!)

Persimmon Spinach Salad .jpg


Directions: 

1. Gently toss all of the ingredients together.  Enjoy!

It will keep for at least a couple of days in the refrigerator, but is best on the same day it is made.

Fall Kale Salad

Author: Stephanie Selinger

Prep time: 15 minutes

Yield: 4 servings

Ingredients:

  • 1 cup quinoa, cooked*
  • 2 bunches (medium-sized) lacinato (dino) kale, washed, dried and chopped into small (one inch or so) pieces
  • 1 large ripe pear, washed, stemmed and cored, sliced thin
  • 1 cup cooked chick peas, rinsed and drained (if canned)*
  • 4 tablespoons fresh parsley, chopped
  • 1/4 cup pecans or walnuts, chopped
  • 1/3 cup extra virgin olive oil
  • 1/8 cup balsamic vinegar
  • 1-2 Tablespoons pure maple syrup
  • Sea salt and fresh ground pepper, to taste
Pears

Directions:

  1. Cook quinoa as directed. This step can be done ahead of time, but I like to prepare this salad when the quinoa is warm.
  2. Place cooked quinoa in a large salad bowl. Add the kale, pear, chick peas, nuts and parsley and toss to combine.  
  3. In a small bowl, whisk together the oil, vinegar, and maple syrup, adding salt and pepper to taste; pour it over the salad and toss gently to coat.

Can be served immediately or saved for later.  This salad will hold well in the refrigerator for a few days.

*Omit the quinoa and/or chick peas if you are grain free or do not tolerate these items, feel free to add another protein of choice!

Easy Saurkraut

Author: Stephanie Selinger

Prep time: 15–20 minutes                                                                                                

Fermenting time: 4 weeks                                                                                                        

Yield: Roughly four cups

Ingredients:

  • 1 large head of cabbage, any variety

  • 1 tablespoon sea salt, more if desired

  • Filtered water, as needed

Tools:

  • Clean, 24-ounce mason jar w/lid (you won’t need the lid until the end)

  • Shot glass or other object of similar weight and size to serve as a weight

 Additional minor ingredients (make sure your mixture is mostly cabbage):

  • Thinly sliced apple or pear

  • Shredded beets

  • Shredded carrot

  • Onions, thinly sliced

  • Garlic, finely chopped

Seasonings (optional):

  • 1 tablespoon Caraway seeds

  • 3 tablespoons fresh dill or 1 tablespoon dried

  • 2 tablespoons fresh ginger, peeled and grated

Stephanie_Selinger-30.jpg

Directions:

1. When fermenting, it's best to give the good bacteria every chance of succeeding by starting off with a clean environment. Make sure your mason jar is are washed, rinsed and dried well. You'll be using your hands to massage the salt into the cabbage, so ensure your hands are clean too.

2. Pull off and set aside two larger outer leaves from the cabbage. Finely shred the remainder - chopping yourself using a sharp knife or feel free to shred in a food processor.

3. In a large mixing bowl combine the cabbage with the sea salt by hand. You'll want to spend quite a bit of time on this step (usually about 15 min!), until the cabbage starts to get all juicy and you have liquid pooling at the bottom of the bowl. It might get sort of foamy too. Add any additional ingredients at this time and incorporate well.

4. Pack the veggies into your mason jar. You'll want to stuff the jar with an inch or two of cabbage and pack it tightly down, then add another inch or two and repeat. Liquid should come up and cover the veggies at each stage of the packing and layering. Pack the veggies until you reach the top quarter of the jar. You will want to leave about an inch or two of space and you’ll want to make sure your veggies are below the liquid/brine. If needed, add a splash of filtered water until the veggies are completely covered.

5. Layer the top of the veggies with the reserved folded outer cabbage leaves and place a weight (like a shot glass) in the jar to keep the liquid over the cabbage. 

6. Cover jar with a towel and place somewhere that doesn’t get direct sunlight. I generally store the jar on a plate (because sometimes the brine will overflow) in an unobtrusive corner of the kitchen where I won’t forget about it, but where it won’t be in anybody’s way. You could also store it in a cool basement if you want slower fermentation that will preserve the sauerkraut for longer.

7. Check the kraut every two to three days. The volume reduces as the fermentation proceeds. You may want/need to periodically pack your veggies down with a spoon or the shot glass. If you need to add extra liquid, dissolve 1 teaspoon of salt in 1 cup of water and add enough to submerge the cabbage again.  Add the extra liquid as often as needed.

8. Sometimes mold appears on the surface (this rarely happens in my experience). Skim what you can off of the surface; however, it will break up and you will probably not be able to remove all of it. Don’t worry about this. It’s just a surface phenomenon, a result of contact with the air. The kraut itself is under the anaerobic protection of the brine.

9.  After about 3 weeks, you can taste your kraut (you are always welcome to taste it earlier, it wont hurt!). It should taste sour and slightly salty with a tangy flavor and have a nice but strong aroma. If it tastes good, it's good. If it tastes bad, you may need to scrape off the top layer and discard it, then see if the kraut tastes yummy beneath the liquid. Once the taste is to your liking, seal and store it in the fridge for months. Enjoy!

Note: if you enjoyed this process and think you will do more fermenting, here is a round up of my favorite recipes. You may also want to invest in some supplies, I have linked my favorite lids and weights here as well.