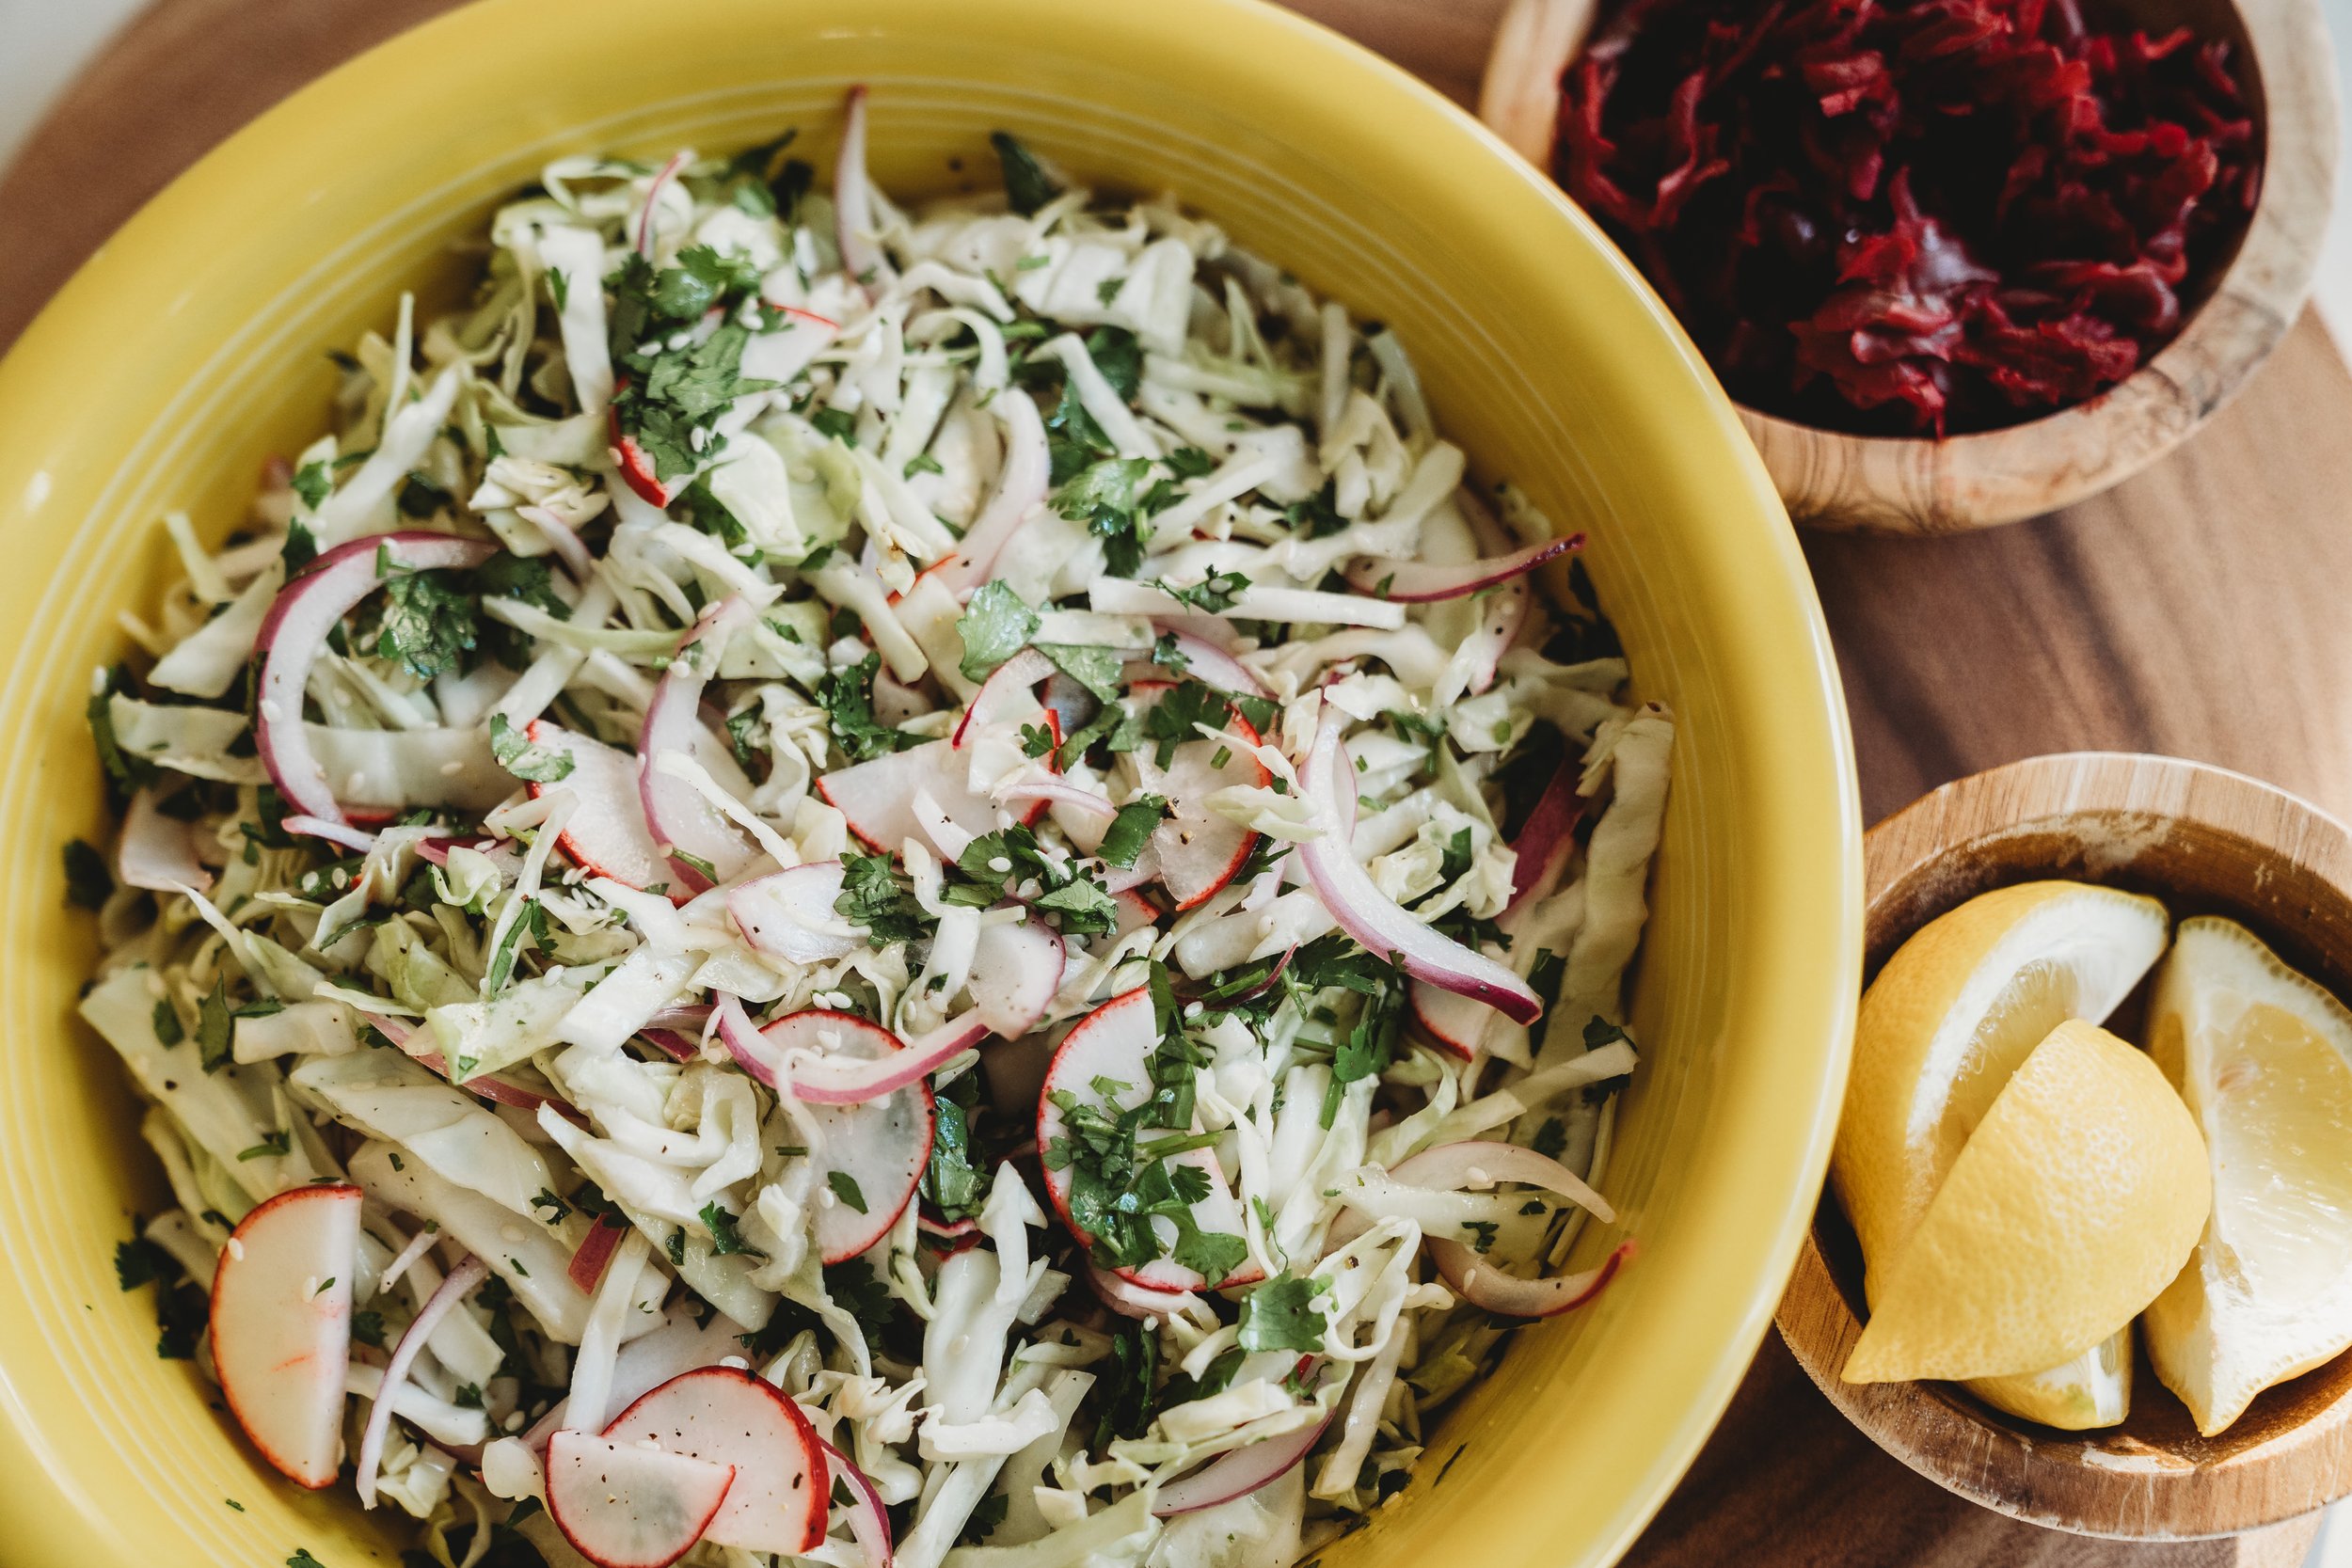
Versatile Cabbage Slaw

I LOVE making a cabbage-based slaw as a side all year round because you can always find in-season ingredients and it can basically go along with any recipe. Cabbage is loaded with nutrients including vitamin C and folate, fiber and is supportive of liver and gut health. I make a big batch of this at least once a week to eat as a side or garnish. Here is my go-to recipe. I swap out ingredients depending on what I have on hand. ⁠

Prep time: 20ish minutes

Yield: 8-10 servings


Ingredients:

  • Red, green, napa or savoy cabbage, chopped - 6-8 cups⁠

  • Bunch of cilantro, chopped fine - more if you like cilantro⁠!

  • 1/2 - 1 red onion, sliced thinly (depends on how much onion you like!)

  • Bunch of red radishes or large daikon, thinly sliced into half-moons⁠

  • Sesame seeds or pumpkin seeds- as many as you'd like for color, interest, and flavor⁠

  • Apple cider vinegar, a splash

  • Juice of 2 limes or lemons⁠

  • Extra-virgin olive oil or Avocado oil, a few glugs, or about 1/4 cup⁠

  • Sea salt and pepper to taste⁠

Cabbage slaw in a yellow bowl

Directions:

Combine all veggies in a large bowl, add spices and liquids, combine, taste, and refine as needed.⁠⁠

Other potential additions or swaps:

  • Sliced or shredded carrots

  • Chopped celery

  • Thinly sliced cucumbers

  • Chopped nuts

  • Seeds⁠

  • Chopped dried fruits⁠

  • Chopped apple

  • Chopped pear

  • Chopped or grated garlic⁠

  • Thinly sliced green onion⁠

  • Different spices⁠

  • Different kinds of vinegar

Any other ideas? Let me know!

Simple Homemade Tomato Soup

Serves 10-12 people

Prep/cook time: 10 minutes / 30 minutes

Ingredients:

  • 3 Tbsp extra-virgin olive oil

  • 2 Tbsp grass-fed butter

  • 2 Cups organic yellow onion, diced

  • 5 Organic garlic cloves, minced

  • 3 Tbsp organic tomato paste

  • 3 Cans organic whole tomatoes with juice (I like San Mariano)

  • 1 Tbsp dried organic oregano

  • Fresh basil leaves, chopped

  • Salt and pepper to taste

Tomatosoup

Directions:

Heat olive oil and butter in a large saucepan or Dutch oven over medium heat. Add onions, salt onions, cover and cook for 10 minutes. Add garlic, oregano, and tomato paste, saute for 2 additional minutes. Add canned tomatoes and the juice, breaking up the tomatoes with a wooden spoon. Bring to a low boil then reduce to a simmer for 20 minutes. Using an immersion blender, blend the soup soup directly in the pot (or blend in batches using a standard blender). Season with salt and pepper and serve with a garnish of chopped basil. It goes wonderfully with some crusty bread, croutons or grilled cheese sandwiches. It also freezes very nicely.

Round up: EASY Fermented Foods

Humans have prepared fermented foods and vegetables for many years, long before modern preservation methods like refrigeration came about. We know that fermented foods were a part of most, if not all native diets. While many cultures today still incorporate these foods into their diets regularly, in some parts of the world preparing ferments has become a lost practice.

Fermenting may seem daunting but it is actually really easy. If you are buying fermented foods regularly, you can save quite a bit of money by making them yourself. If you have yet to introduce fermented foods into your diet, what are you waiting for? Most of them taste really great (albeit a bit tangy!). There are some amazing health benefits to eating a diet rich in fermented foods:

  • Aids in digestion

  • Are loaded with beneficial enzymes, B-vitamins, omega-3 fatty acids, and probiotics

  • Supports your immune system

  • May help to curb sugar cravings

  • Promotes growth of healthy bacteria in the gut

  • Increases flavor of foods

Yogurt

Here are my best tips for success. Most of the recipes below go into some good detail to set you up properly as well:

Materials: glass and ceramic jars work the best. I like the classic glass Ball jars and use them for most everything I ferment. I have different sizes glasses depending on what I am fermenting. You may also want to invest in some supplies, Here are my favorite lids and weights.

Preparation: for vegetable ferments, clean your produce well of dirt and grime to ensure a successful fermentation process. Also, buy organic when possible to ensure that the produce has not come into contact with pesticides.  

When to stop: leave your ferment alone for the time suggested. Trust the process and only check on the ferment if absolutely necessary – like if you see mold. This is a risk for ferments, but it is easy to spot and deal with, usually. Black and bright pink are typically mold, while white is generally ok except when it is “fuzzy”.  Often times you can scrape off the mold and move on. If the mold is throughout the ferment its best to throw out and start over.

Here are my go-to, easy recipes:

Coconut Yogurt

https://minimalistbaker.com/easy-2-ingredient-coconut-yogurt/

Kimchi

https://www.thekitchn.com/how-to-make-easy-kimchi-at-home-189390

Saurkraut

https://www.ahealthybalance.net/recipes/2017/8/9/easy-saurkraut

Fermented Whole Radishes

https://www.mountainfeed.com/blogs/learn/fermented-whole-radishes

Quick Pickled Red Onion (not truly a ferment, but I love this recipe)

http://www.rickbayless.com/recipe/pickled-red-onions/

Fermented Salsa

https://wellnessmama.com/2643/fermented-salsa/

Fermented Beets with Cumin and Basil

https://thestingyvegan.com/spiralized-fermented-beets/

Fermented Pickles

https://www.farmhouseonboone.com/farmhouse-on-boone/the-easiest-way-to-make-homemade-pickles-from-all-those-extra-garden-cucumbers/

Round up: BEST Healthy Instant Pot Recipes

When I first heard about the Instant Pot, I wondered if I really needed yet another kitchen gadget that I would have to find some room for in my cupboard to store and would be forgotten after using it just a couple of times.  When Amazon had a crazy sale for Black Friday a few years back, I decided to go for it. What I didn’t realize is how much it would change the way that I prepare many of my staples, and how much easier and more efficient it would be for me to get healthy food prepped and on the table for my family to enjoy.

Now, it isn’t the perfect product.  It is big and clunky and you do need some space to store it.  It can be dangerous if you don’t follow the directions properly and if you are the kind of person that likes to constantly “check” on what you are making, it may not be the gadget for you.  That being said, it can save you a lot of time and energy in the kitchen.

Below I have curated some of my favorite recipes and some of the favorites of members of my online community. I’ll continue to add to this list so check back often!

Instant Pot

Staples

Hard boiled eggs

Bone broth

Spaghetti squash I like to cook mine for 10 minutes instead of 7

Beets

Beans You can sub black beans for the pinto and change up the fresh spices.  I like to add bay leaves to mine. I also will often replace the water with broth if I have that on hand

Hummus

Yogurt

Coconut Yogurt

Whole chicken

Mains

Barbacoa

Beef Bourguignon

Butter Chicken

Carnitas

Kalua Pork

Korean Short Ribs

Lemon Garlic Chicken

Orange-Sesame Chicken

Quinoa Burrito Bowls

Salsa Chicken

Soups + Stews

Beef Pho

Chicken Pho

Vegetarian Pho

Beef Stew I never liked beef stew until I made this recipe!

Chicken Enchilada

Chicken Noodle

Spinach + Lentil

Tomato 

Tom Kha Gai

Turkey Chili

Loaded Mexican Chicken

Sides

Crispy Potatoes

Apple Pie Apple Sauce

Fall Kale Salad

Author: Stephanie Selinger

Prep time: 15 minutes

Yield: 4 servings

Ingredients:

  • 1 cup quinoa, cooked*
  • 2 bunches (medium-sized) lacinato (dino) kale, washed, dried and chopped into small (one inch or so) pieces
  • 1 large ripe pear, washed, stemmed and cored, sliced thin
  • 1 cup cooked chick peas, rinsed and drained (if canned)*
  • 4 tablespoons fresh parsley, chopped
  • 1/4 cup pecans or walnuts, chopped
  • 1/3 cup extra virgin olive oil
  • 1/8 cup balsamic vinegar
  • 1-2 Tablespoons pure maple syrup
  • Sea salt and fresh ground pepper, to taste
Pears

Directions:

  1. Cook quinoa as directed. This step can be done ahead of time, but I like to prepare this salad when the quinoa is warm.
  2. Place cooked quinoa in a large salad bowl. Add the kale, pear, chick peas, nuts and parsley and toss to combine.  
  3. In a small bowl, whisk together the oil, vinegar, and maple syrup, adding salt and pepper to taste; pour it over the salad and toss gently to coat.

Can be served immediately or saved for later.  This salad will hold well in the refrigerator for a few days.

*Omit the quinoa and/or chick peas if you are grain free or do not tolerate these items, feel free to add another protein of choice!